This post is probably long overdue. But, whenever I meet new people or fellow voiceover colleagues my studio is always a topic of conversation.
So, from concept to completion… here is a look inside my studio build.
1: The Concept


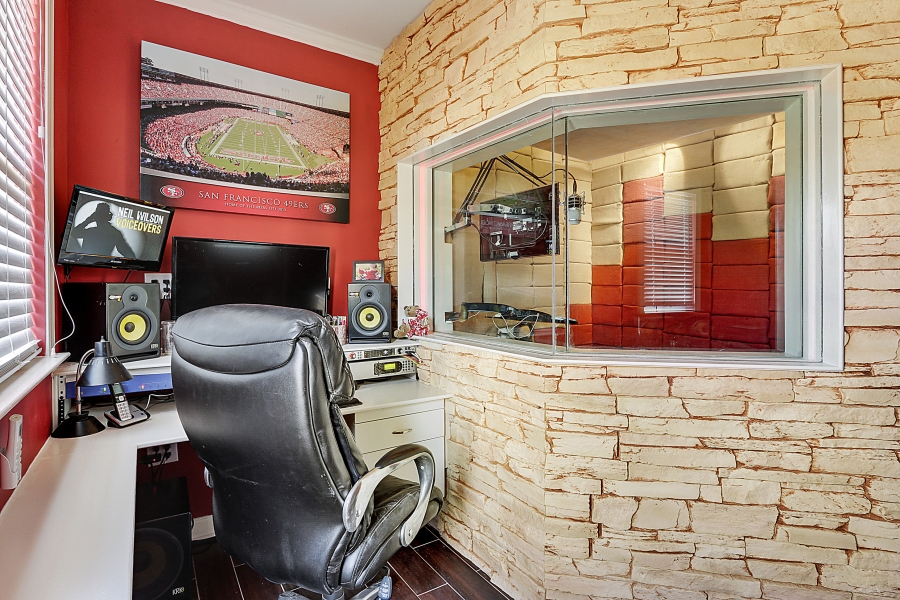
Open, Modern, and a touch of the 49ers.
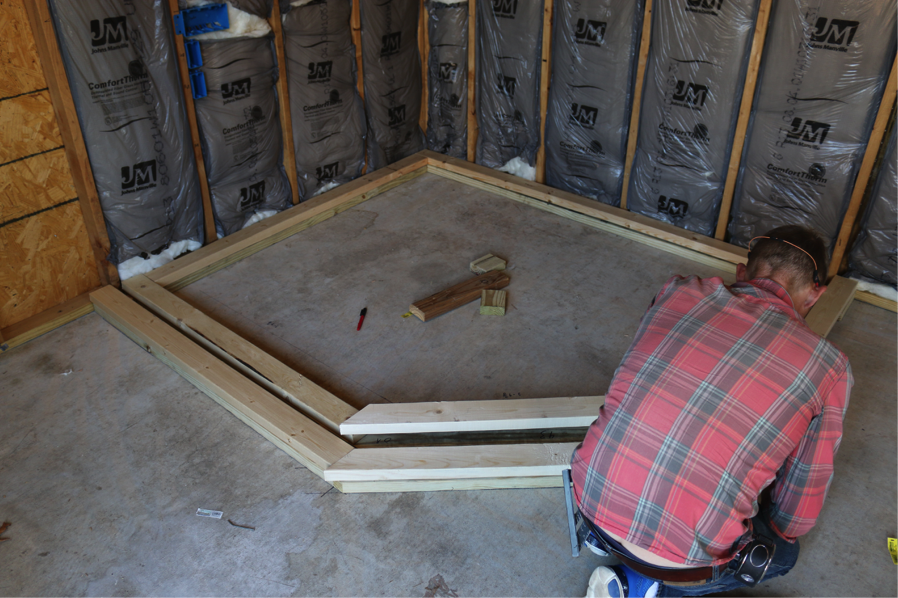
My studio build started as a 12×18 storage room. It was once the home of lawn mowers, tools, paint and other garage overflow from the previous owners of our new home. The project started with a concept design and drawing in Sketchup. Those photos are above.
From there we gutted it… down to the bare studs and existing insulation. That’s my buddy, Jay, who also happens to be an awesome builder! Check him out at buildBR.com
Let’s take a look at the design a little closer…
Framing the booth –


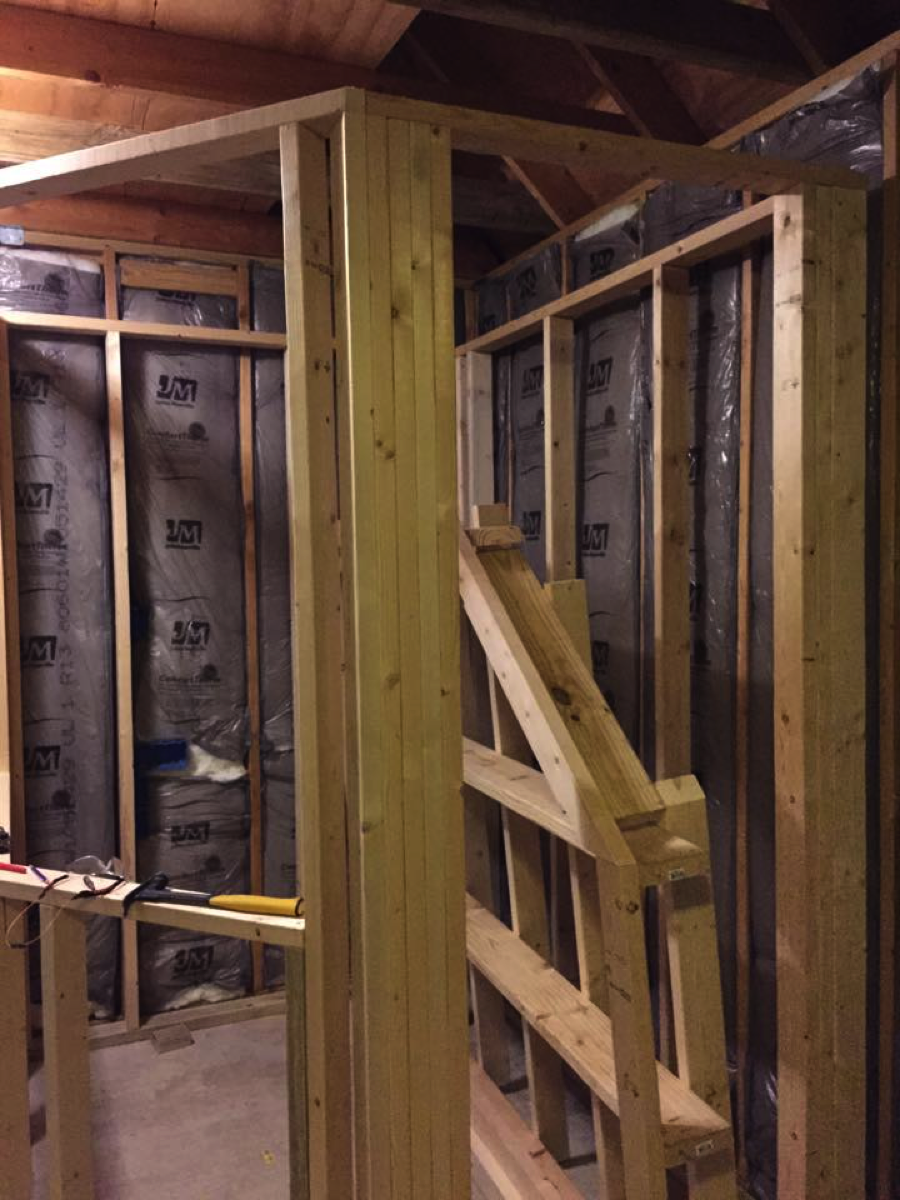


This is the “cap” the booth.

It has a 1” air gap all the way around for true isolation. The walls were raised and then the cap was set into place.
Here is a final look at the framing.

Wiring – LOTS OF WIRING!
This is where I got really fancy. Here are all my wire runs…
- Monitor to inside the booth via HDMI T1 for ISDN
- A custom 6 gang white powered coated XLR TRS wall plate from Rapco
- USB to inside the booth
- Power all over the place
- TV sound
- Security
The list goes on… this the most functional workspace ever.


We even added a red rope light between the glass. (before you ask, when it’s dead, it’s dead)
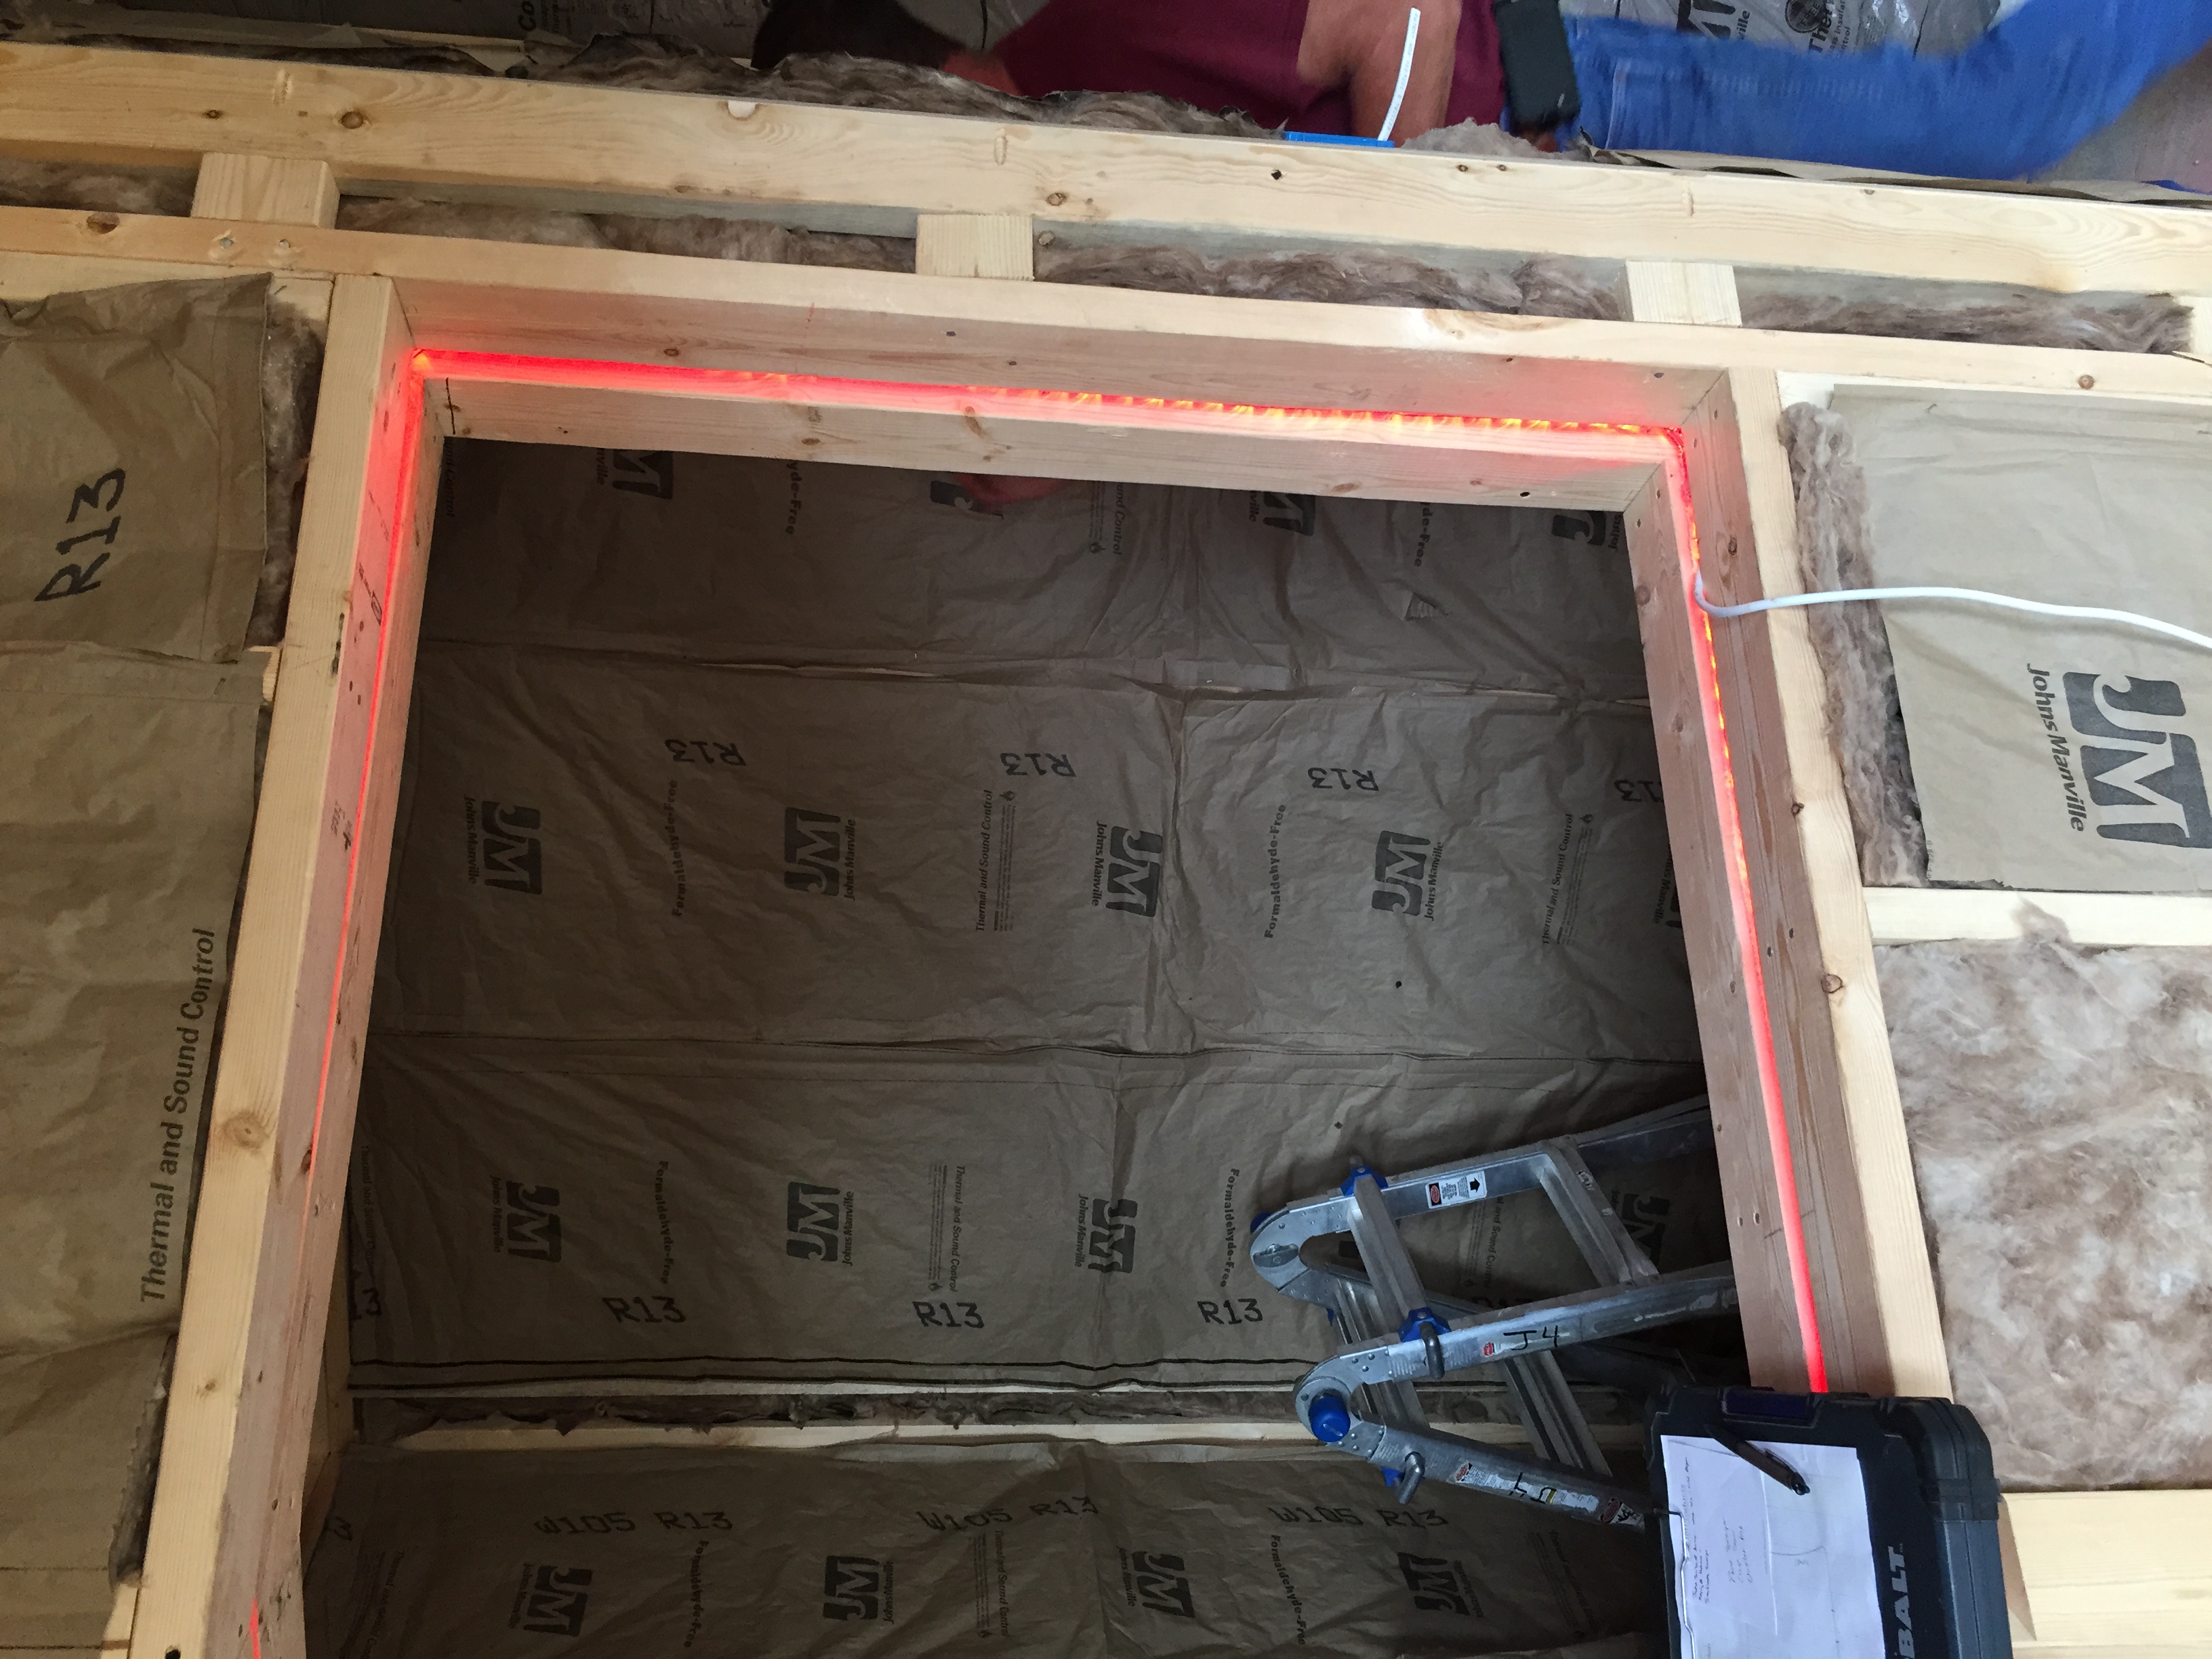

(I know that picture is sideways… I can’t figure out how to rotate it.)
The booth HVAC fan speed is controlled by a knob which is within reach in my booth. Here is the rough-in of it on the right.

Drywall!
This explains itself, however, we added a compound called “Green Glue” between the 1st and 2nd layer of drywall in the booth. Look them up online at just do a Google search for Green Glue.

Paint
49ers colors… White trim…
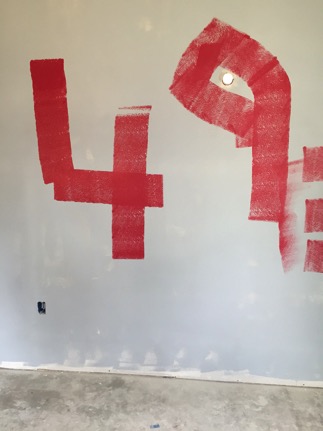

I even made my Dad do some painting while he was visiting.
Booth Windows/Glass!
One of the more important things to me was to not feel “closed in” in my new booth. I wanted as much view of the outside world as possible. So, we installed big pieces of glass – 4 big pieces of glass – 3/8” thick on one side and 1⁄2” on the other. Here is a look at that install.


So between the glass I added a fabric to soften the rope light. Acts sorta like a lamp shade… super pretty.

Doors!
We found some fire rated doors at the Habitat Restore. Total steal for 50 bucks. 2 doors to maintain the air gap.

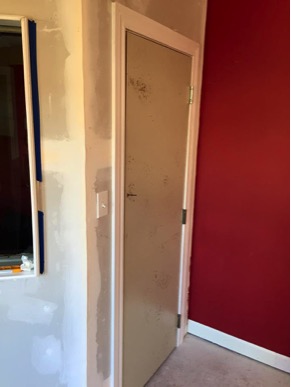
Nice huh?
Some of the coolest pieces in my studio are the finishes. I opted to wrap my booth in a poly- texture product that looks like stone. It’s from a company called Texture Plus and is super rigid and looks fantastic.


I found a picture on Pinterest and had to give my booth a little pop with the acoustic panels. A total PIA but it looks great. I had my wife and friends help me cut and wrap every single piece of these panels.


Flooring!
I went with tile that looks like wood outside of the booth. Inside the booth is carpet. If you wanna see it for yourself… go to Lowes.
All told it took about 3 weeks to complete. But I couldn’t be happier. If you have any specific questions… just email me.